USA Lights Modifications
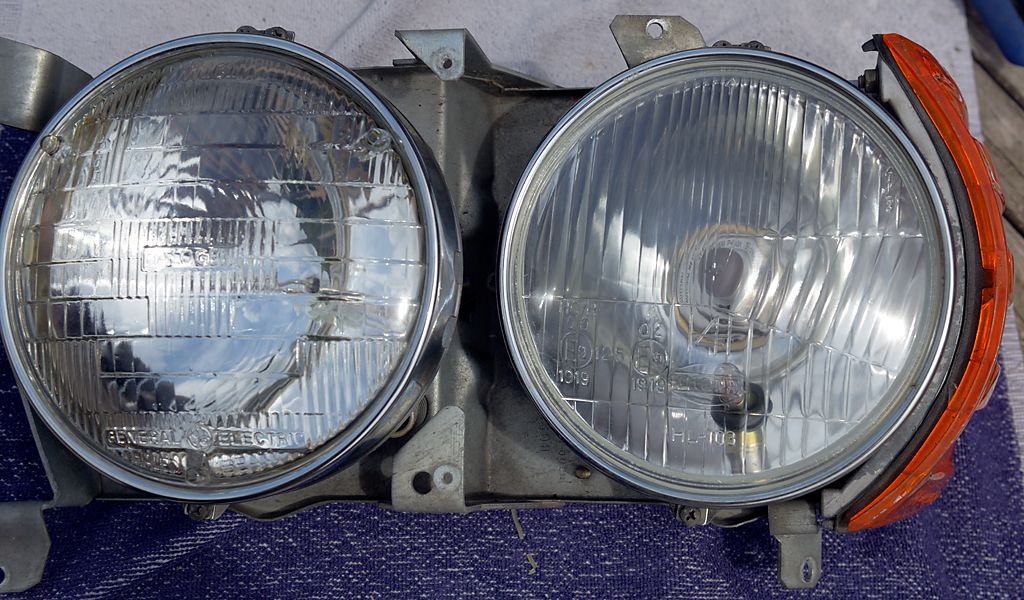
Once your car arrives from the USA into Europe, the lights work slightly different than we are used to in The Netherlands and Belgium.
Just a few observations:
- The orange area at the side of the head lights unit, burns continuously. This is a marker light and is not supposed to burn when the head lights are on. I do not know if this is allowed on Netherlands/Belgian roads...
- The same applies for the orange lights below the bumper. They burn continuously when the head lights are on. This is not allowed in Belgium and The Netherlands AFAIK...
- The orange lights below the bumper are also used for parking lights. Not sure if this is allowed. Normally a light in the head light (so white) is used for this...
- When the turn signals are used, only the orange lights below the front bumper blink. Wouldn't it be good if the marker lights in the head light unit will blink as well?
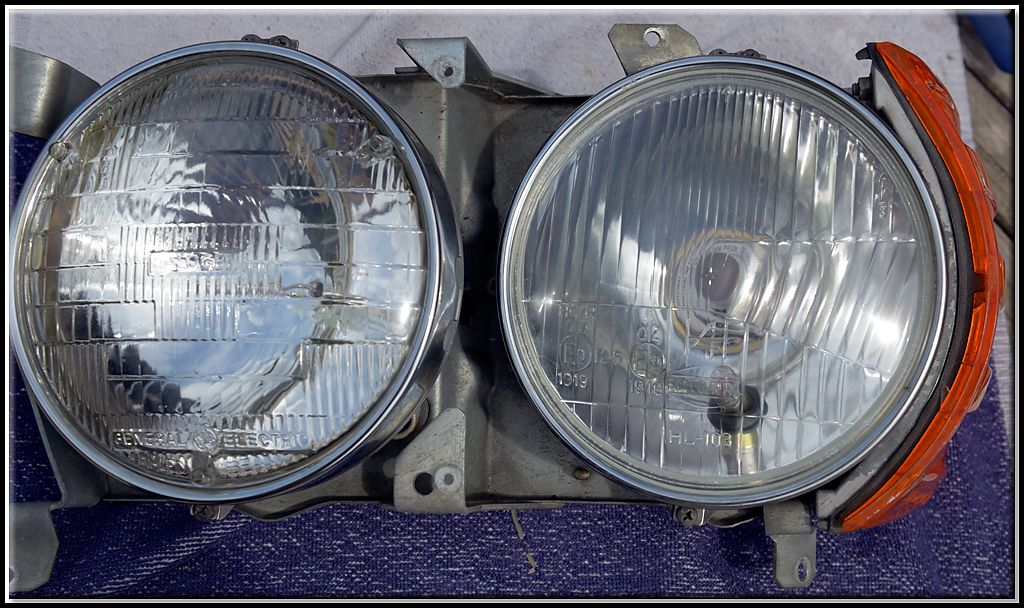
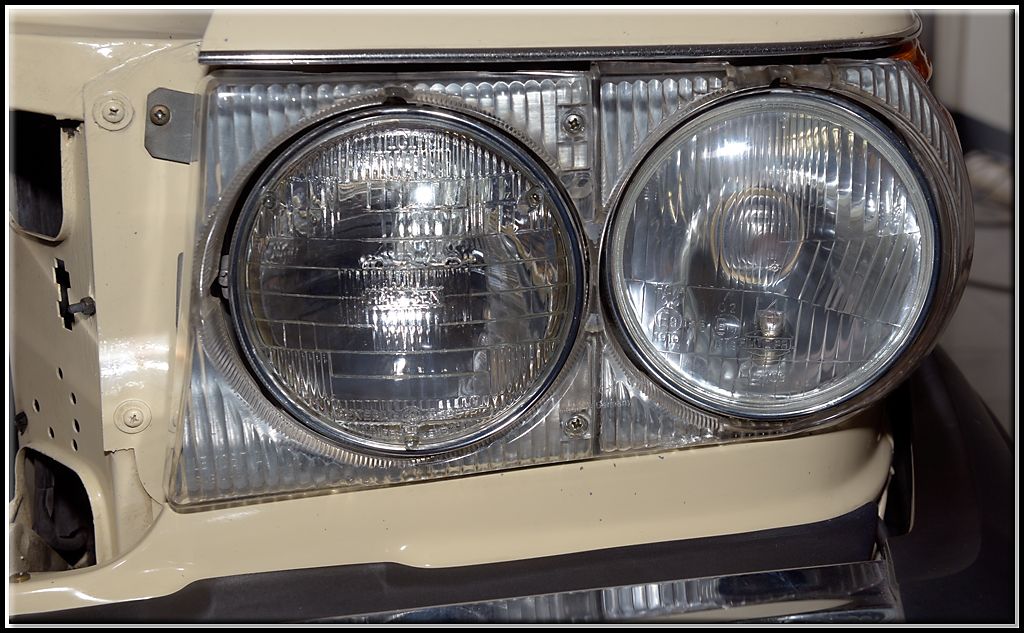
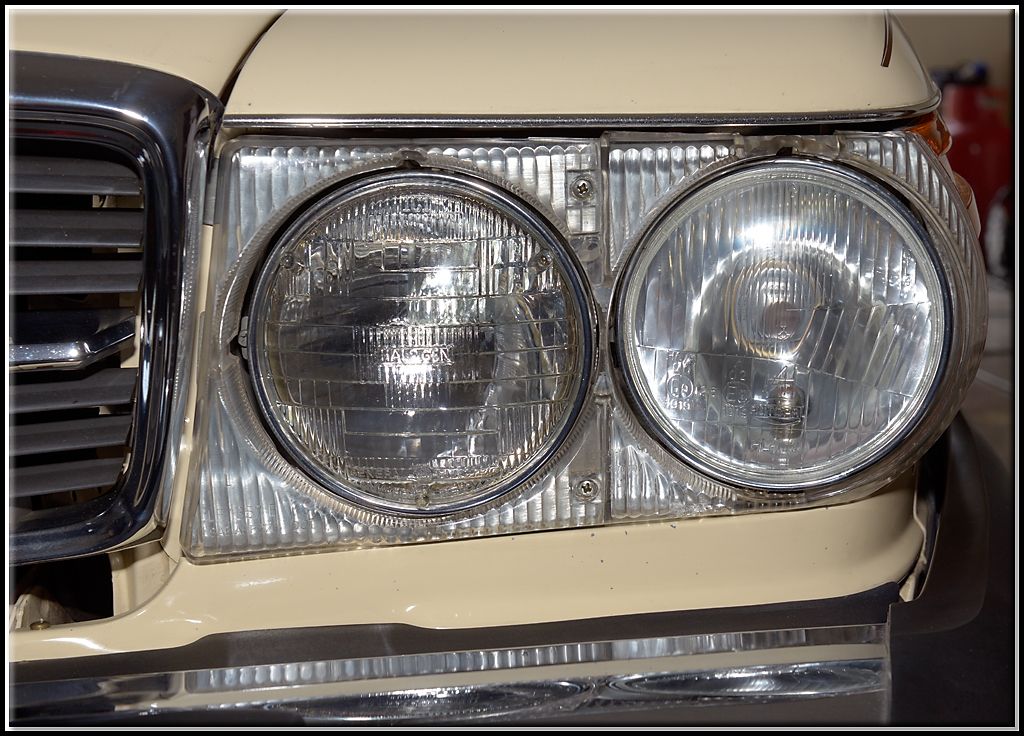
- The Sealed Beam headlight have a different light distribution compared to H4 head lights. Although not an item to not allow the car on the road, why not replace it with a light with a better light output?
- The orange bumper light has three functions: turn indicator, marker light and park light
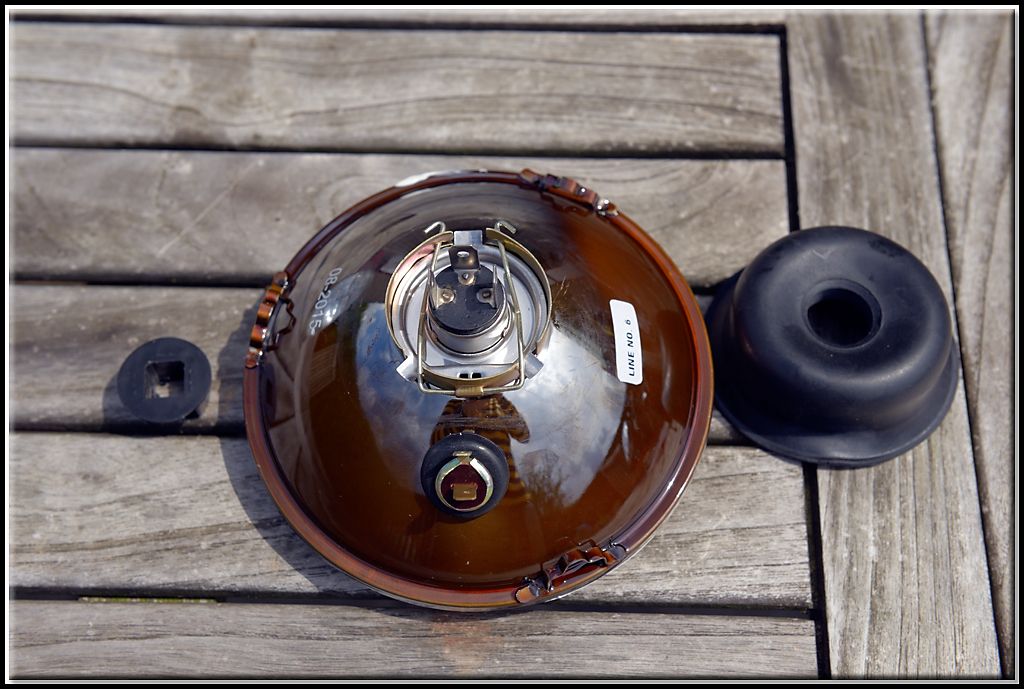
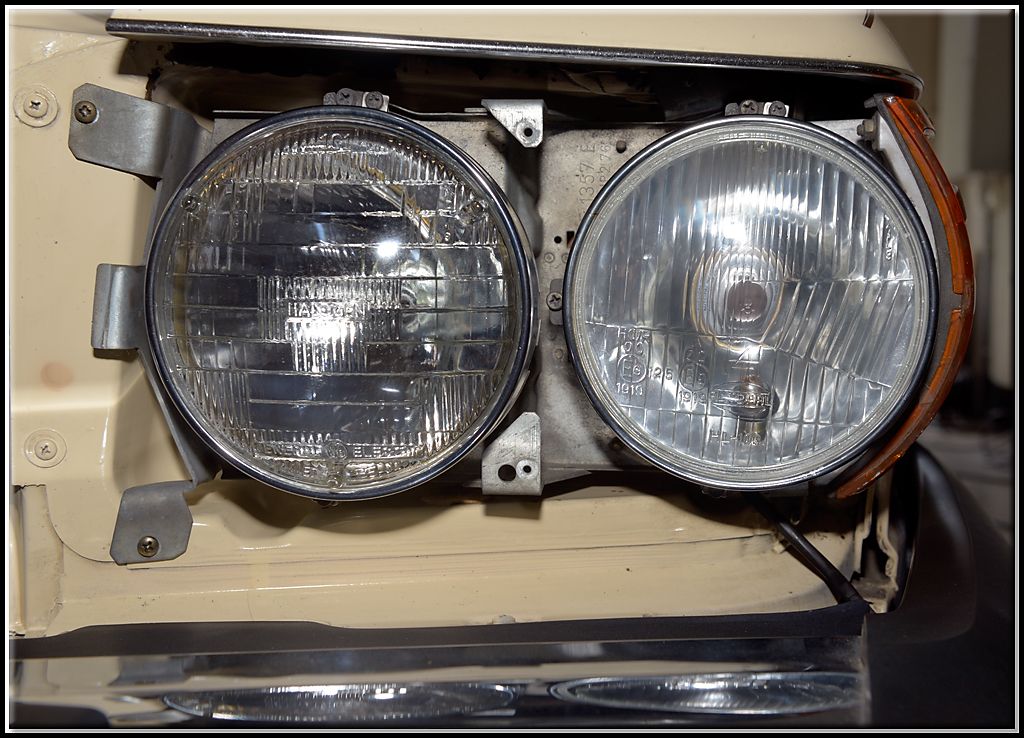
When purchasing the car, I also bought a set of H4 head lights from Vemu Car Classics:
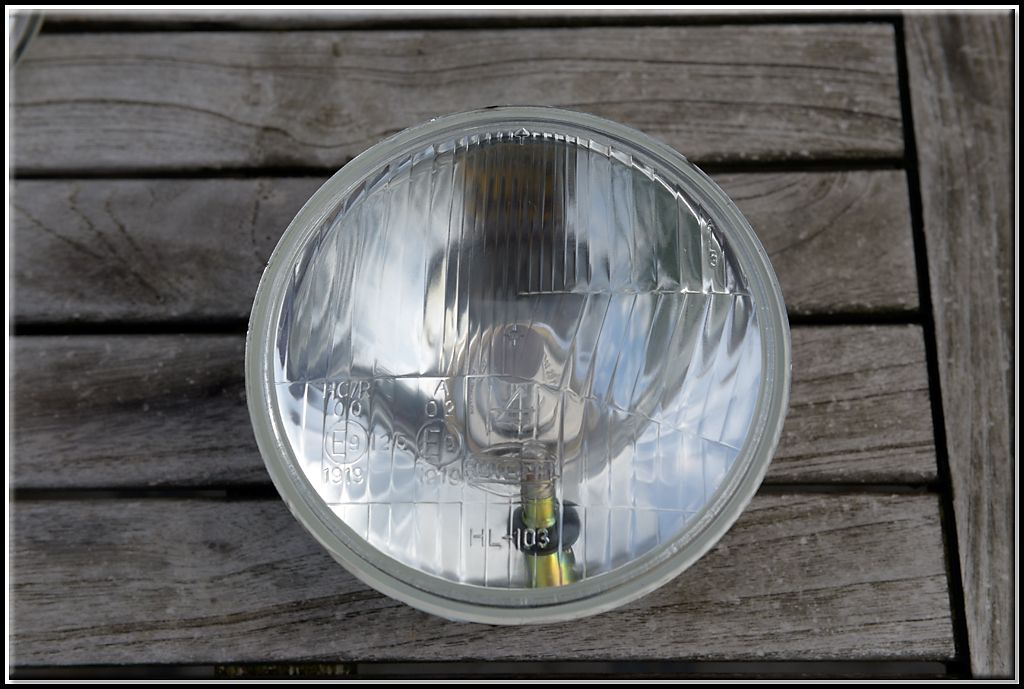
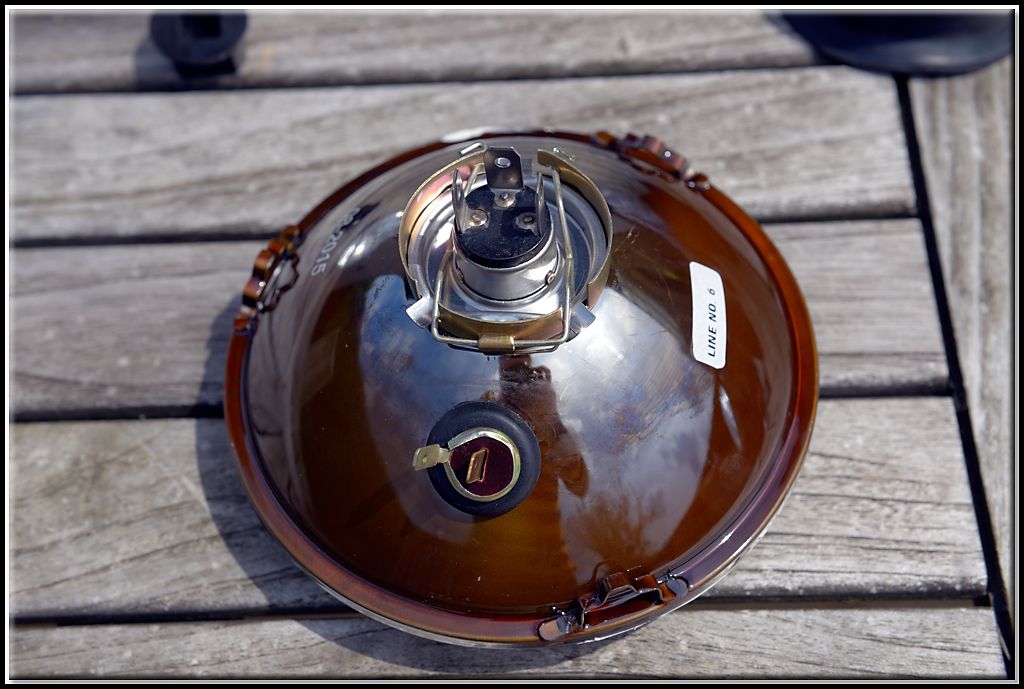
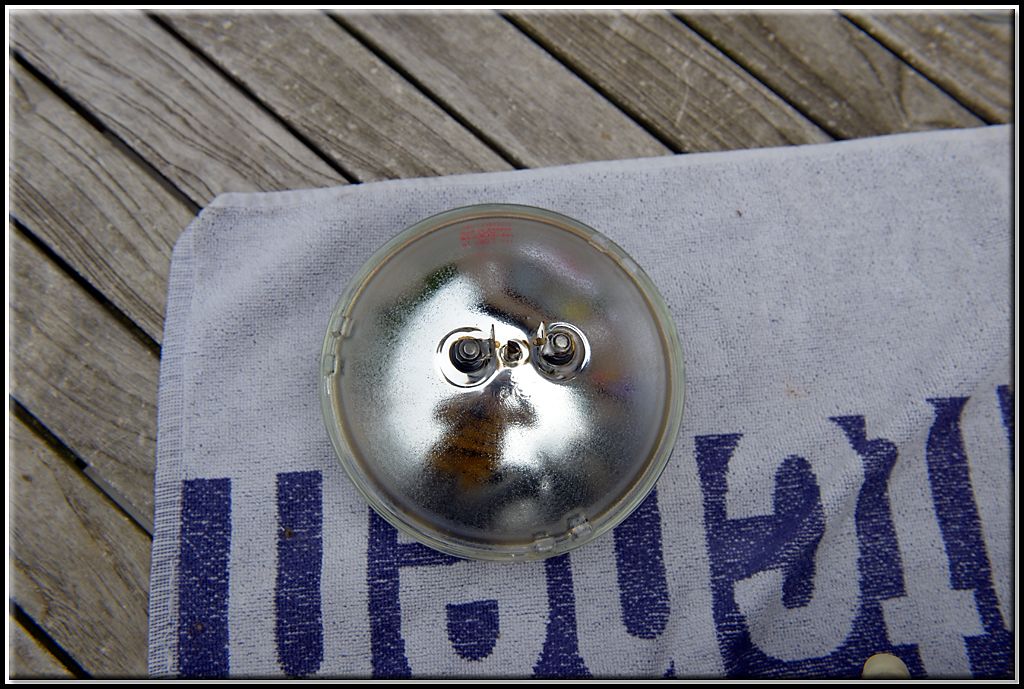
As you can see, there is an extra small light bulb present. I think this can work perfectly as clearance light ("stadslicht") as well as park light...
The battle plan
So, I have come up with below overview:

So, weaponed with this knowledge, the following changes need to be applied:
- In orange bumper light, we need to disable the marker light and park light: luckily both are fed with the same wire...
- We need to disconnect the side marker in the head light unit and connect it to the turn signal wire...
- We need to connect the small light bulb in the new head light to the marker light wire
Execution
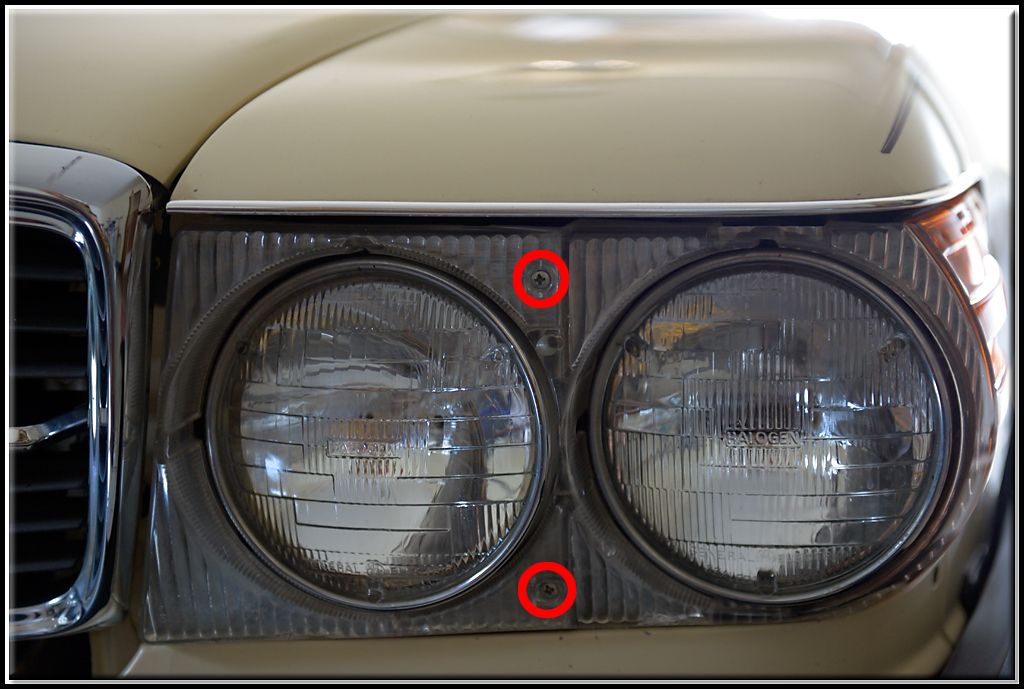
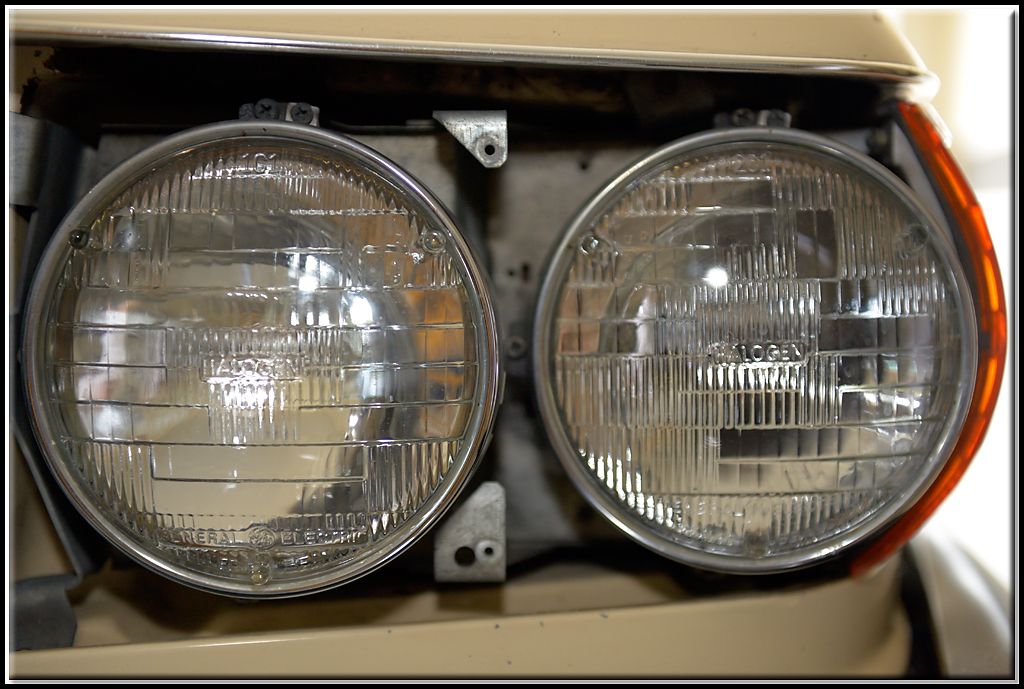
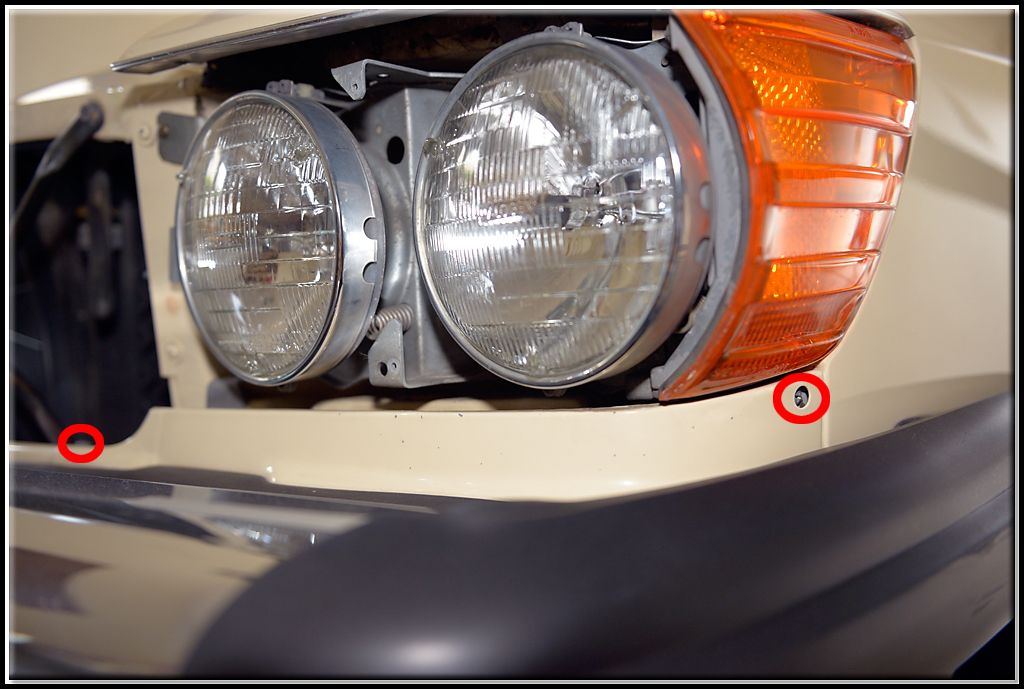
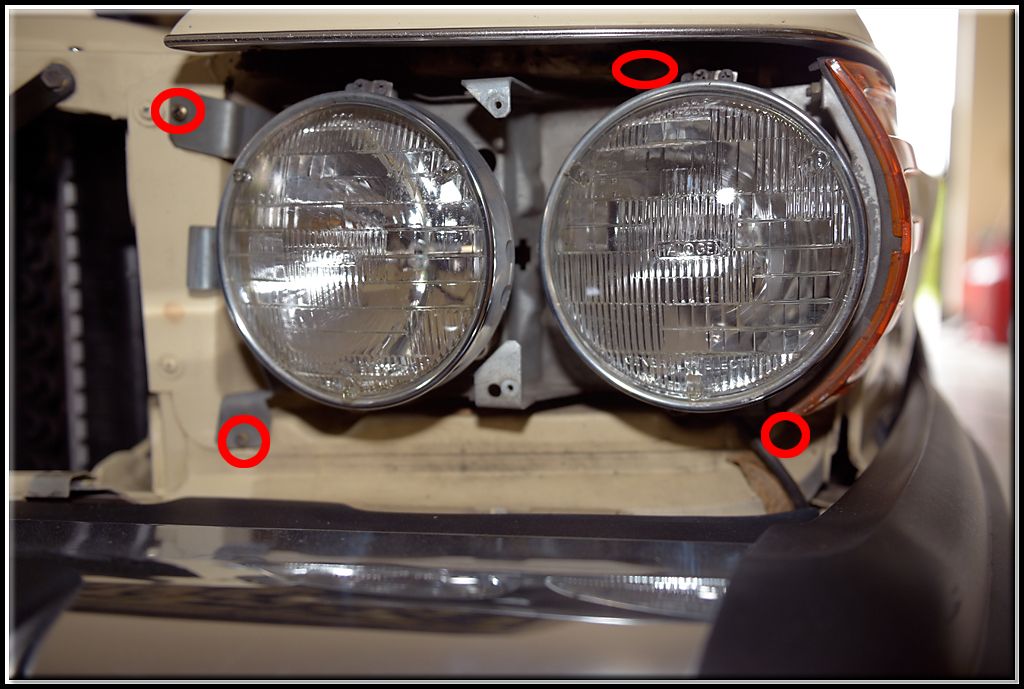
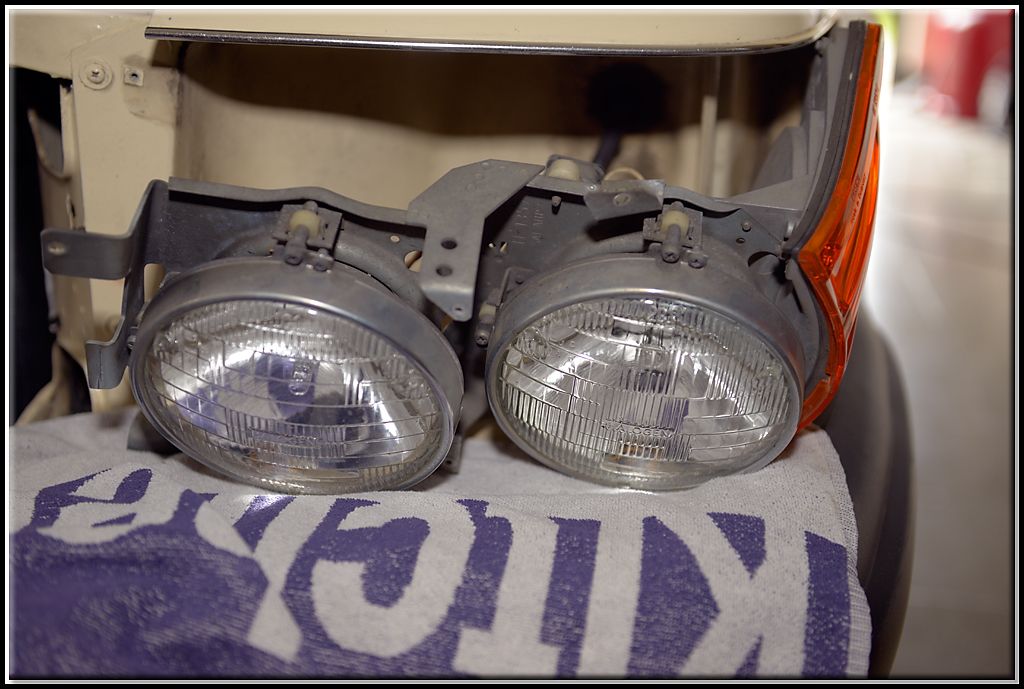
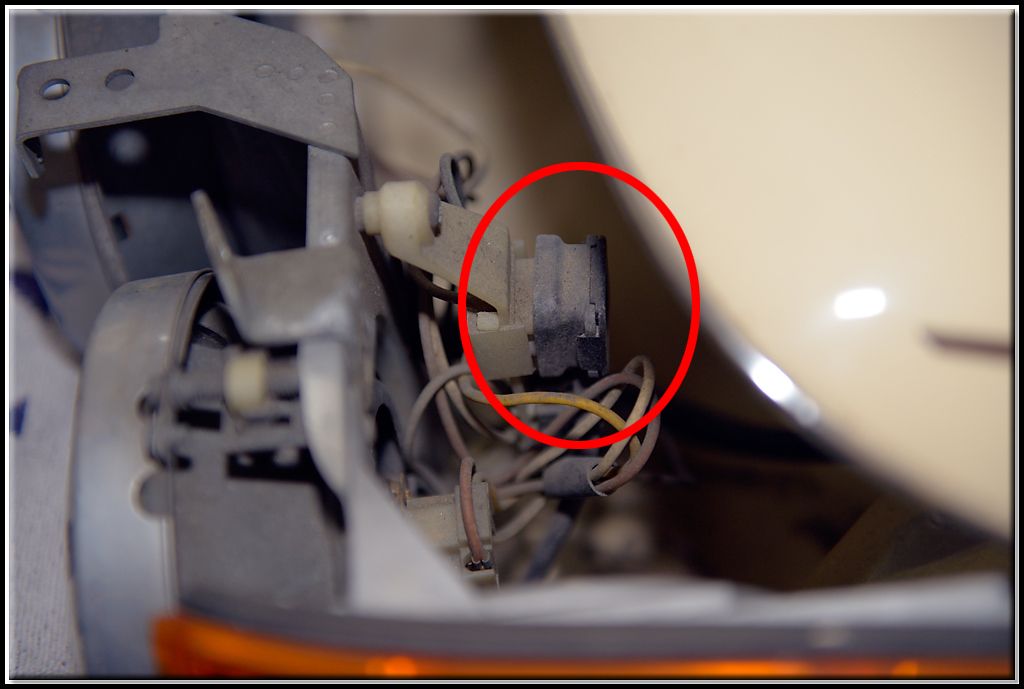
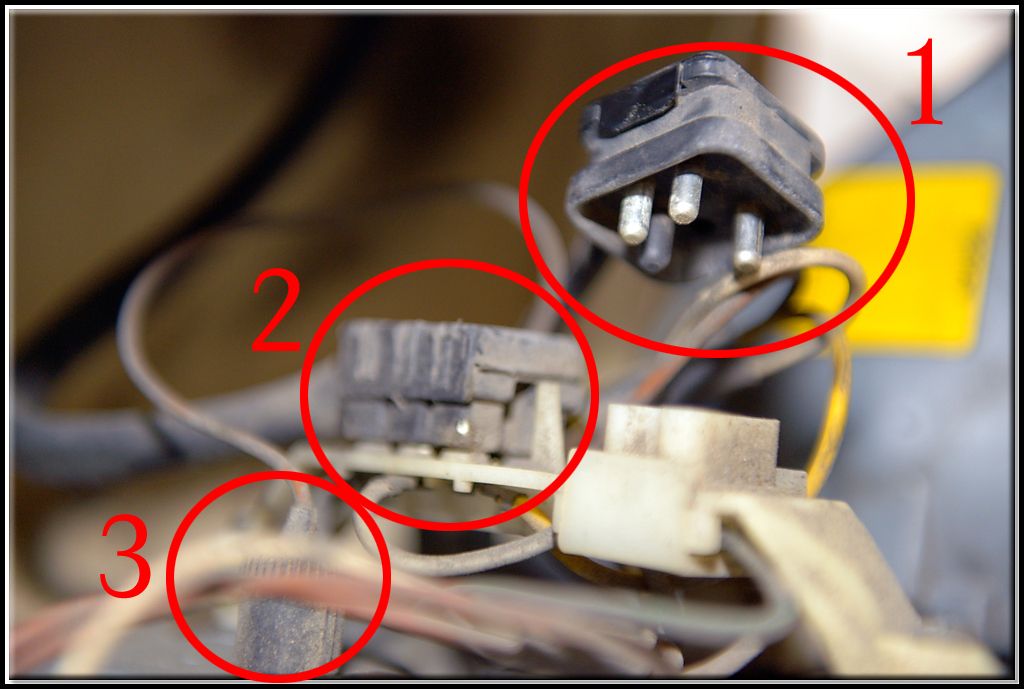
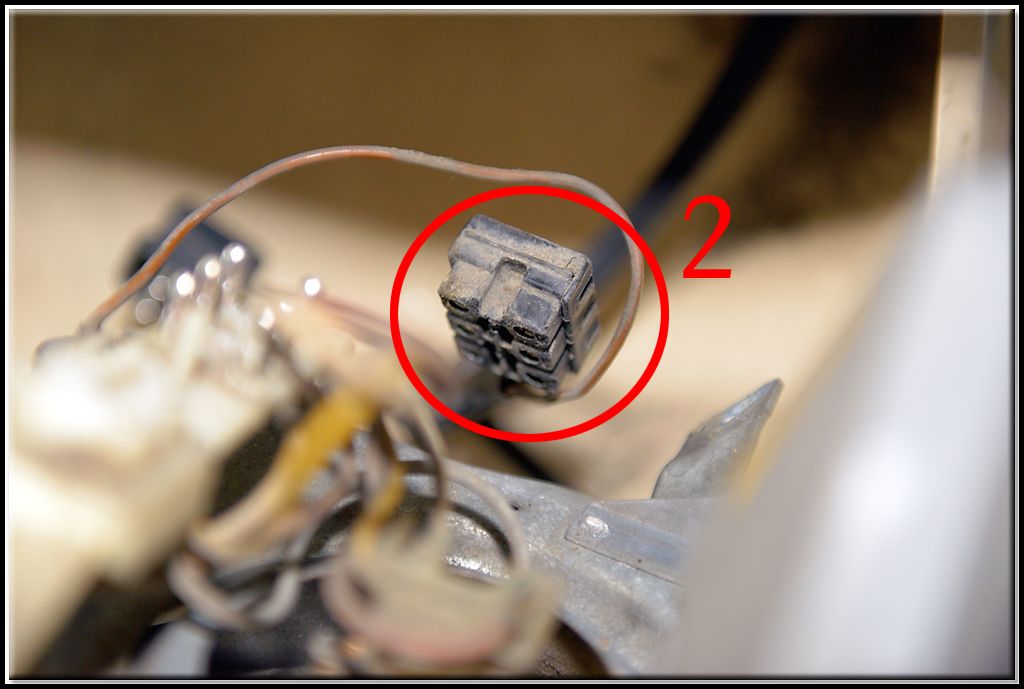
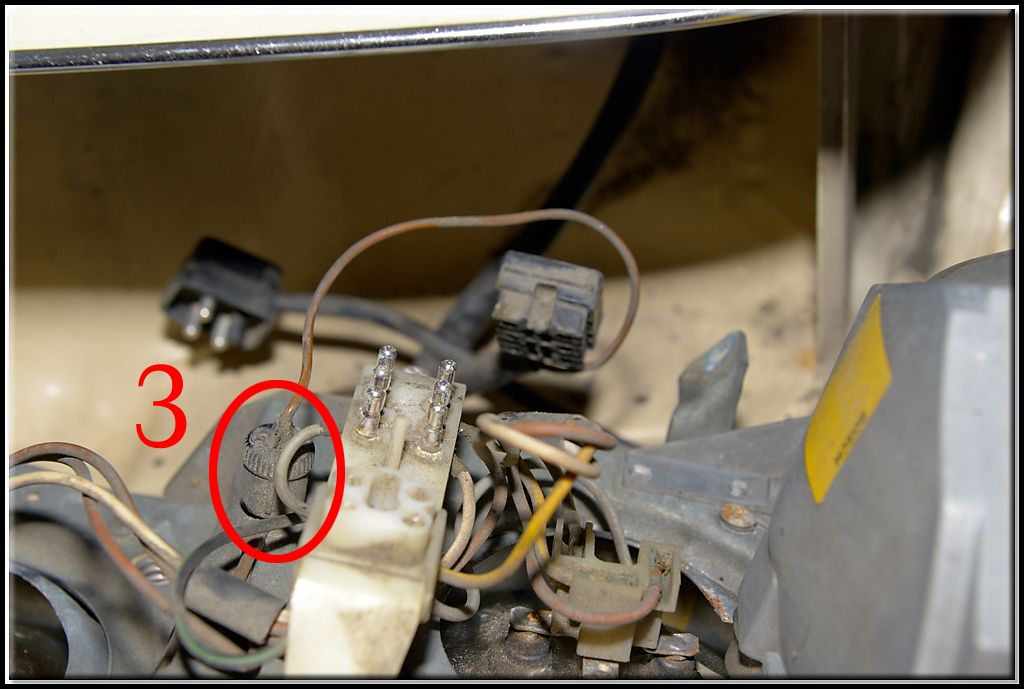
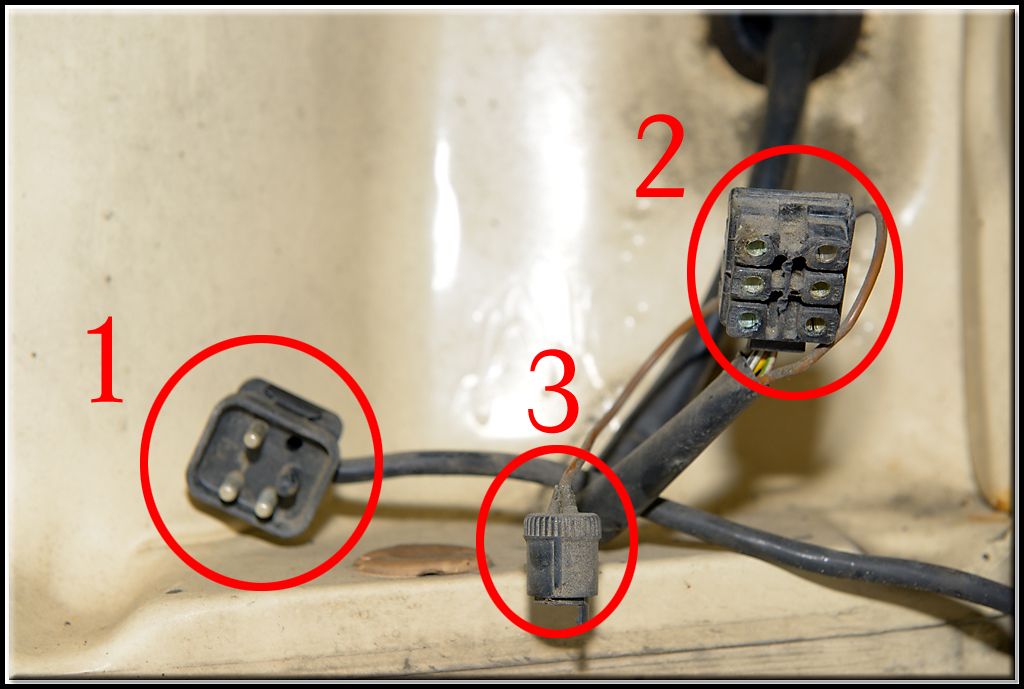
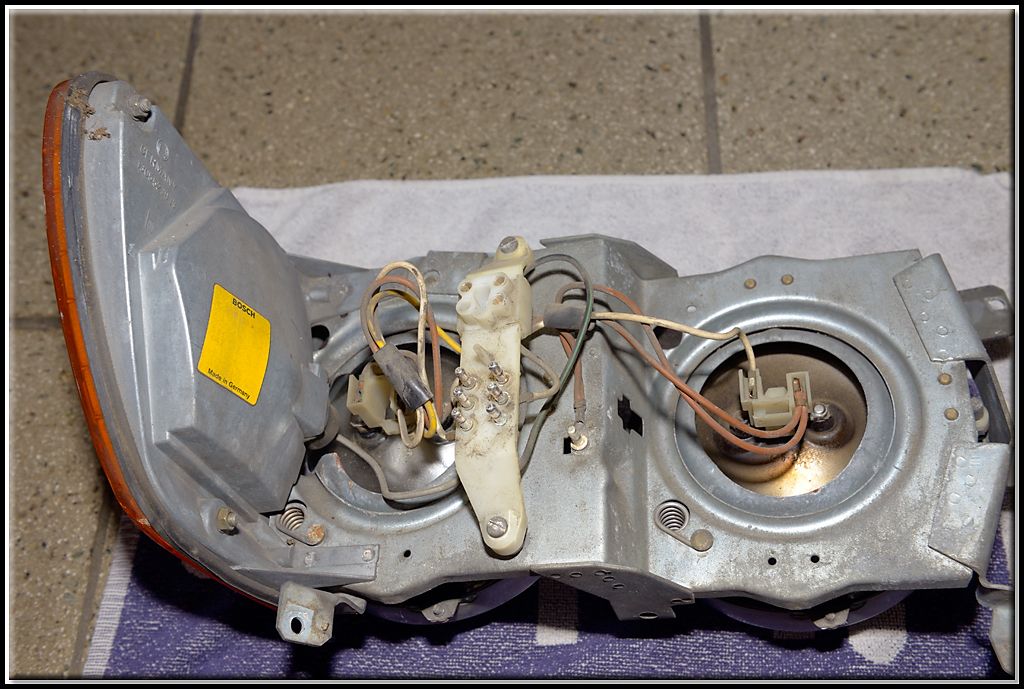
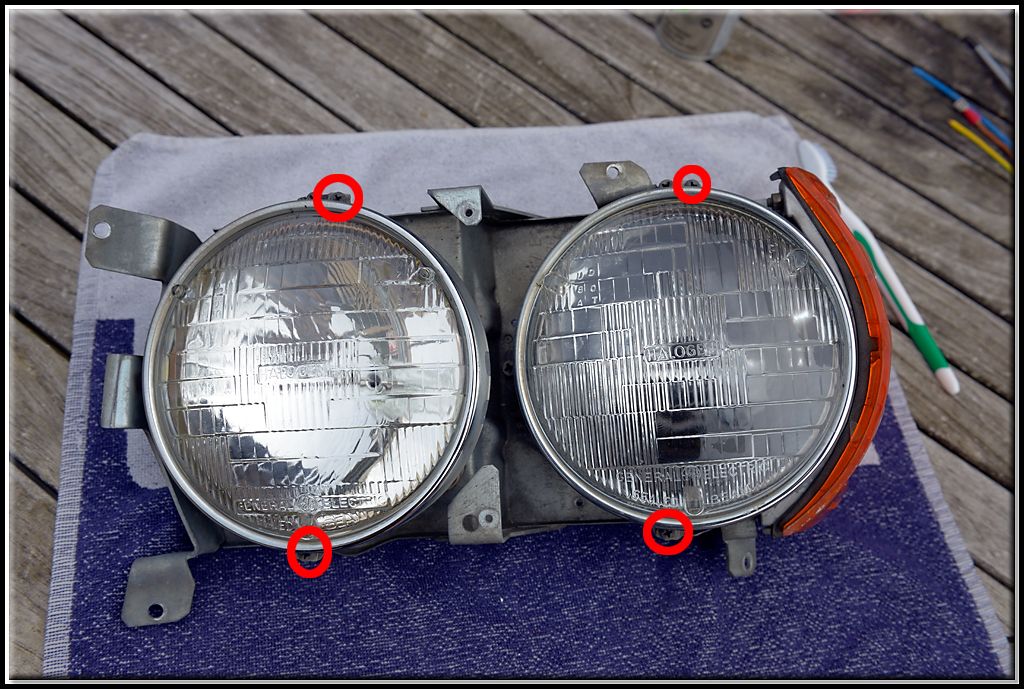
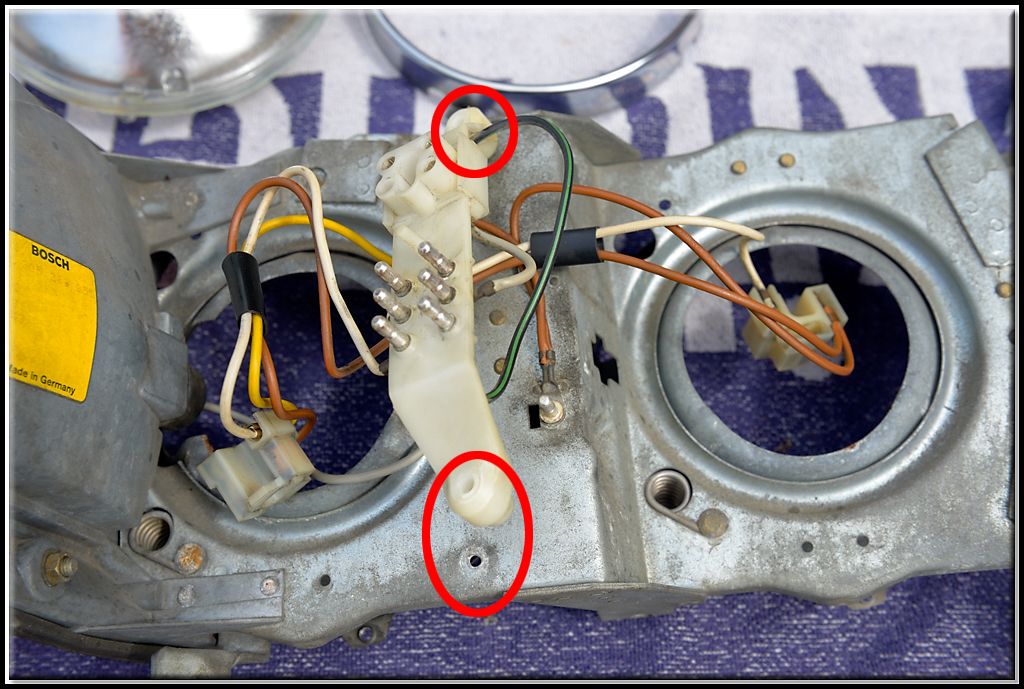
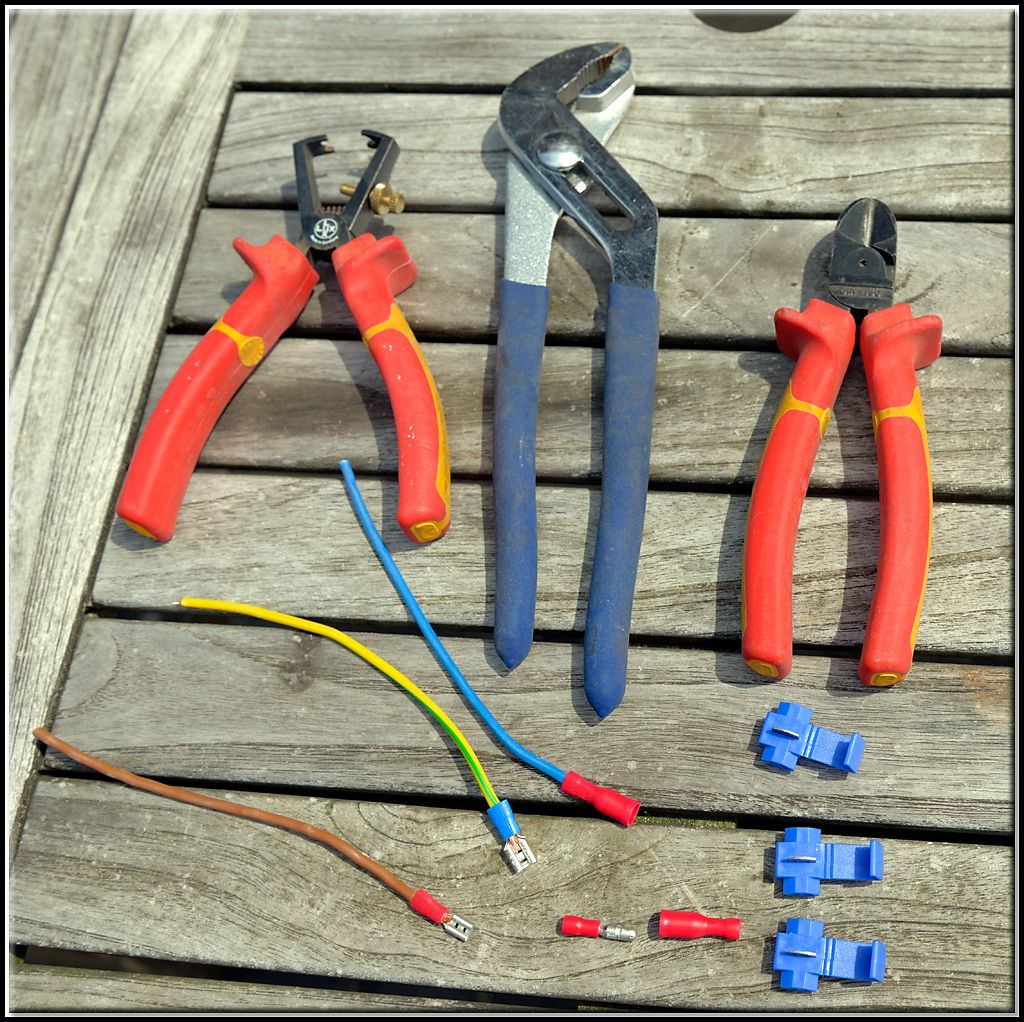
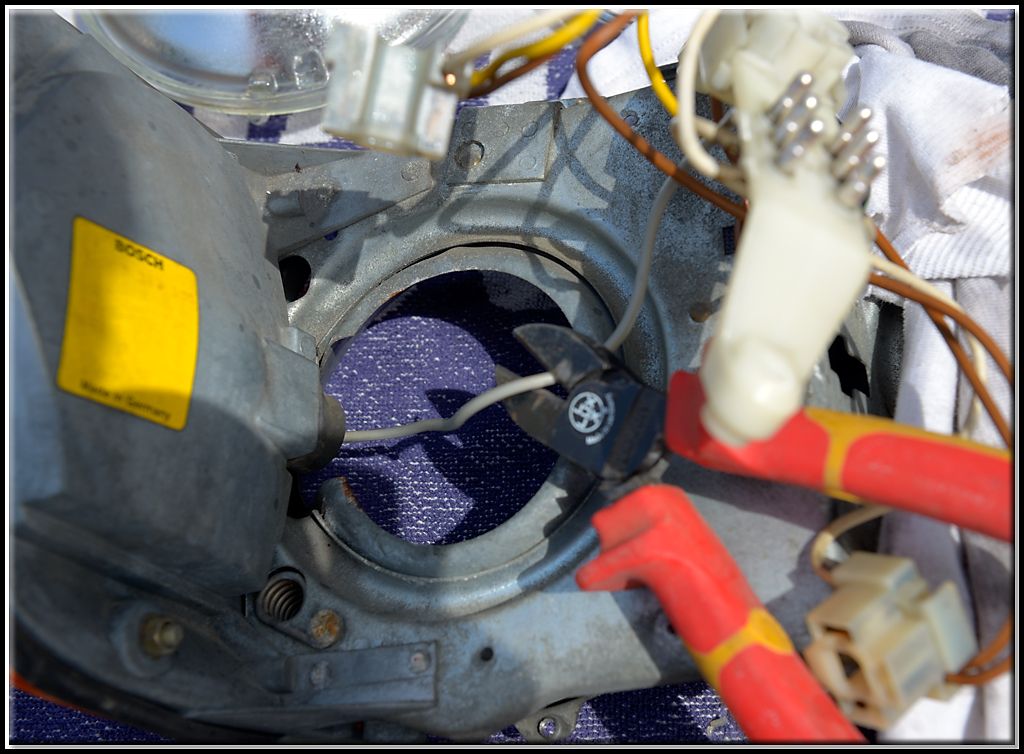
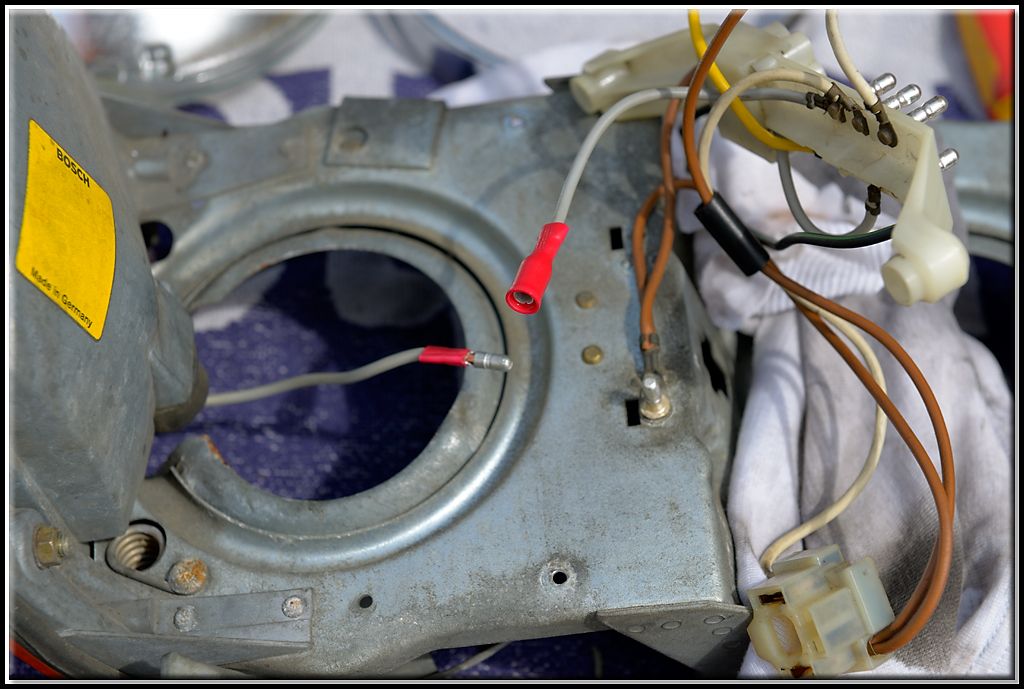
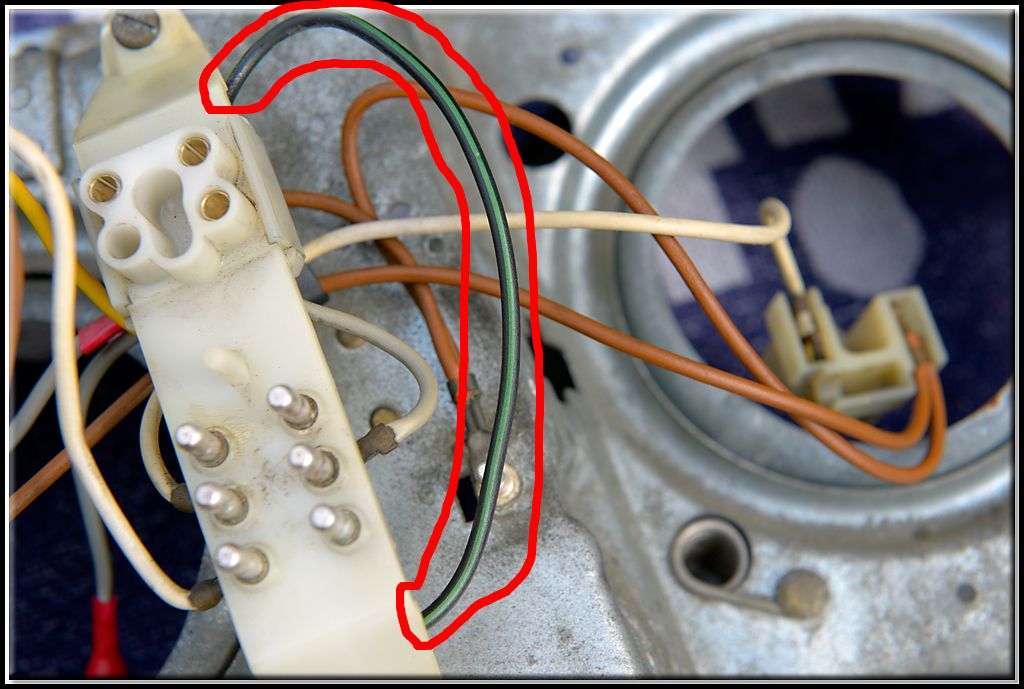
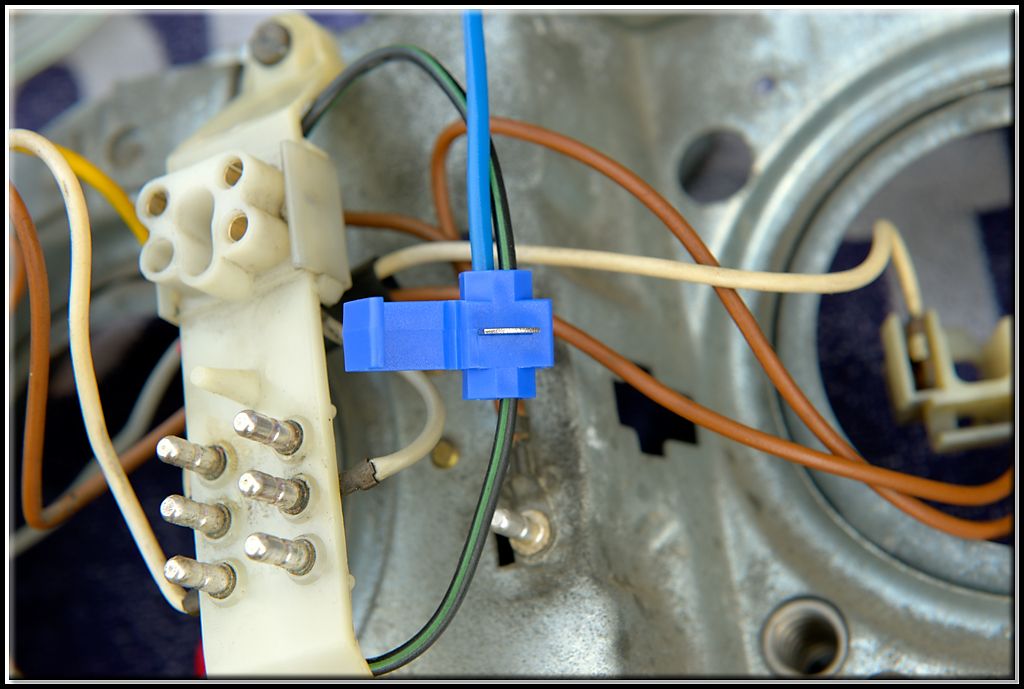
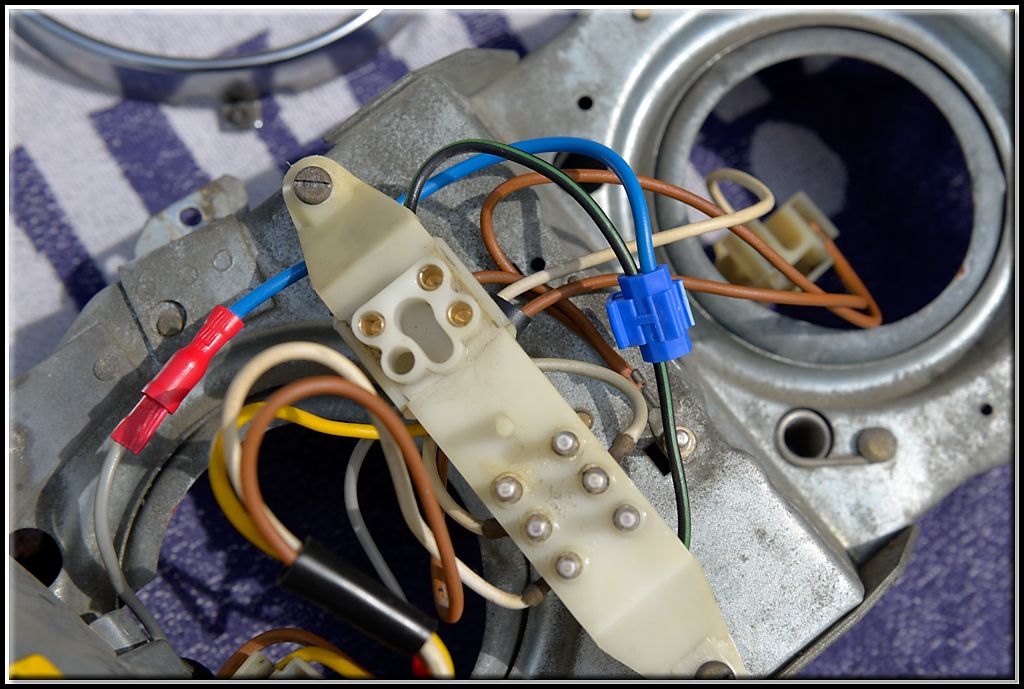
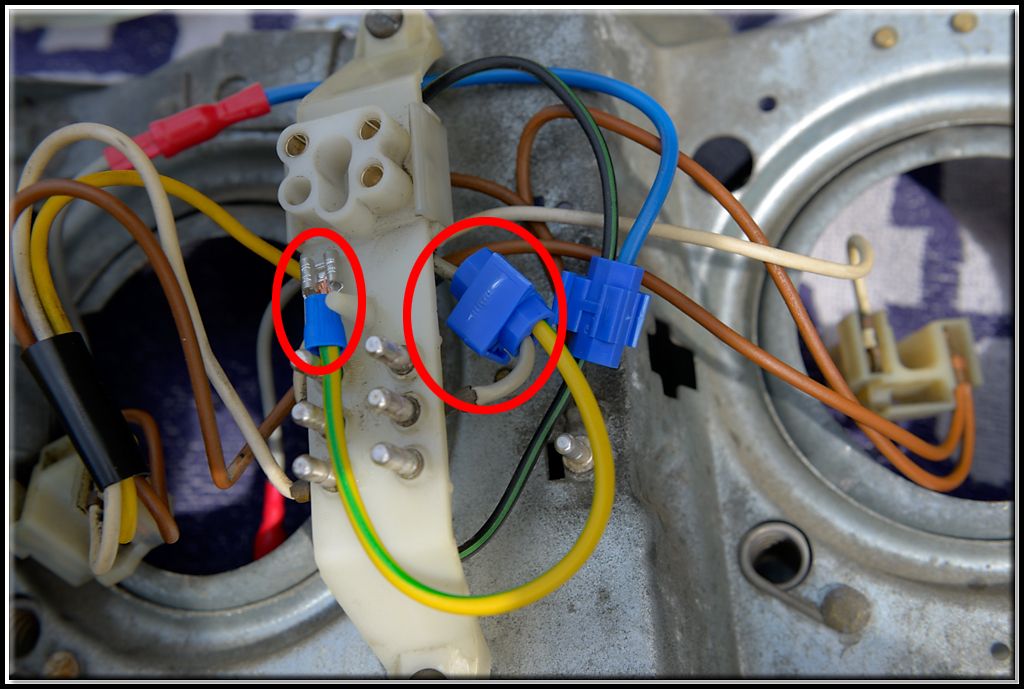
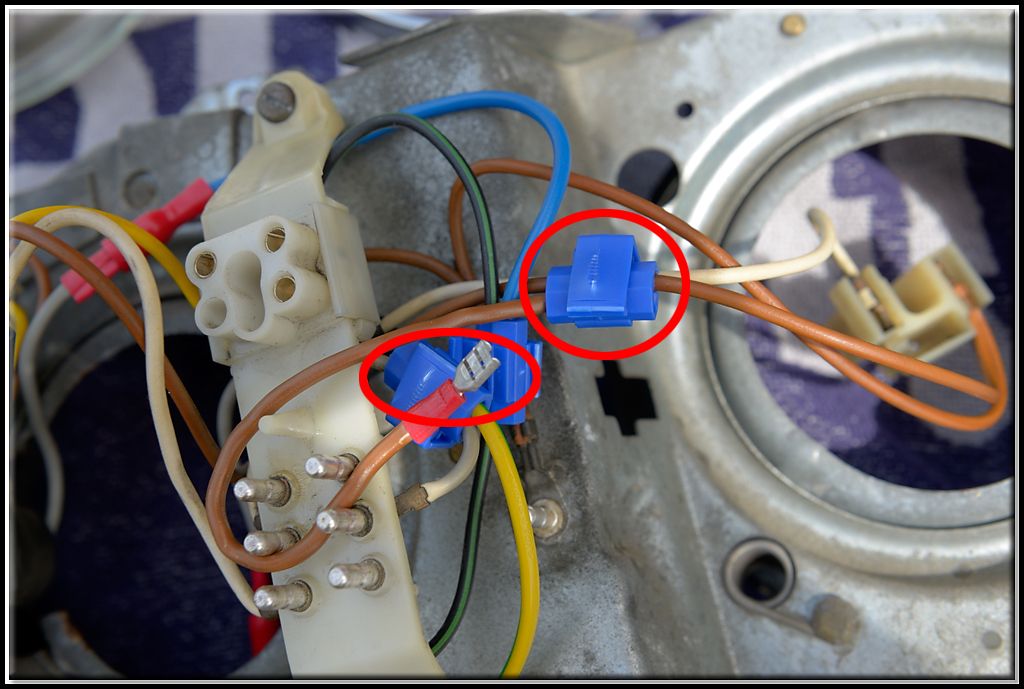
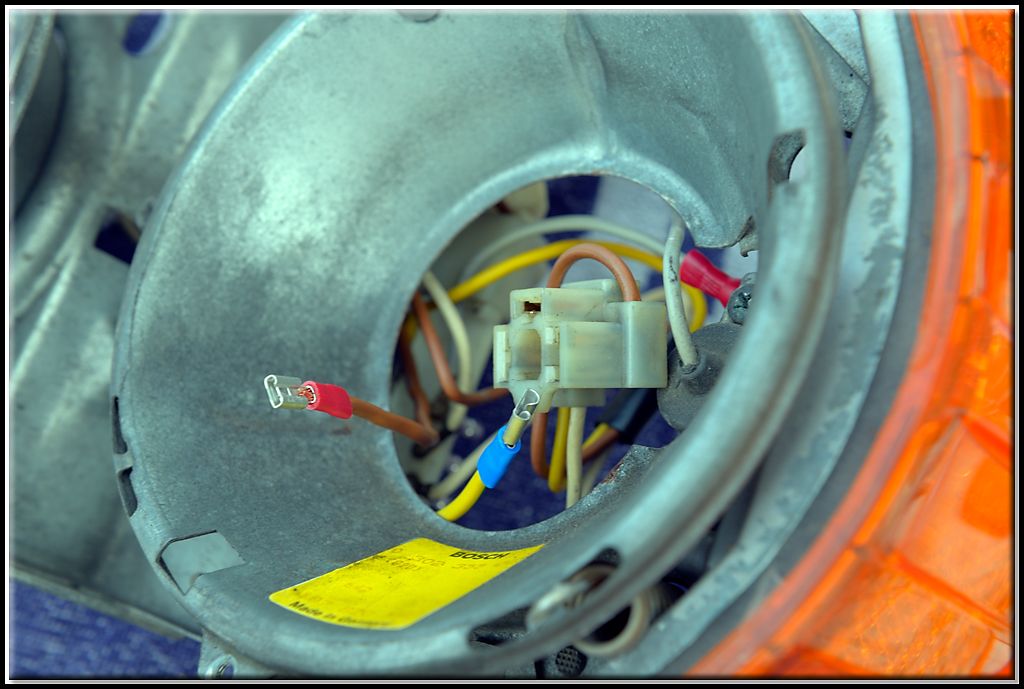
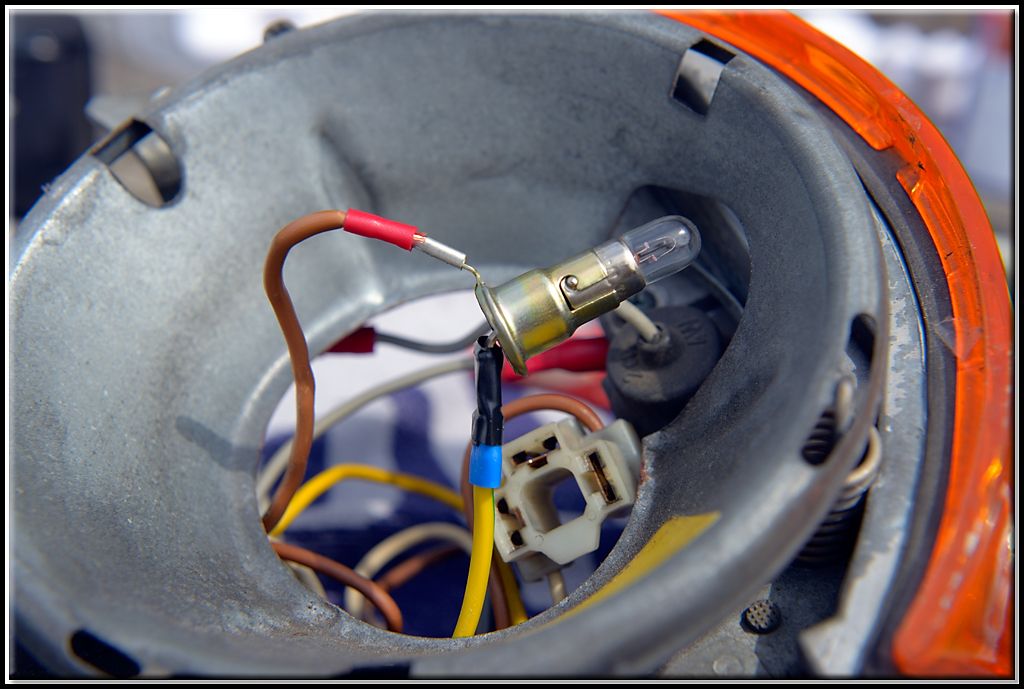
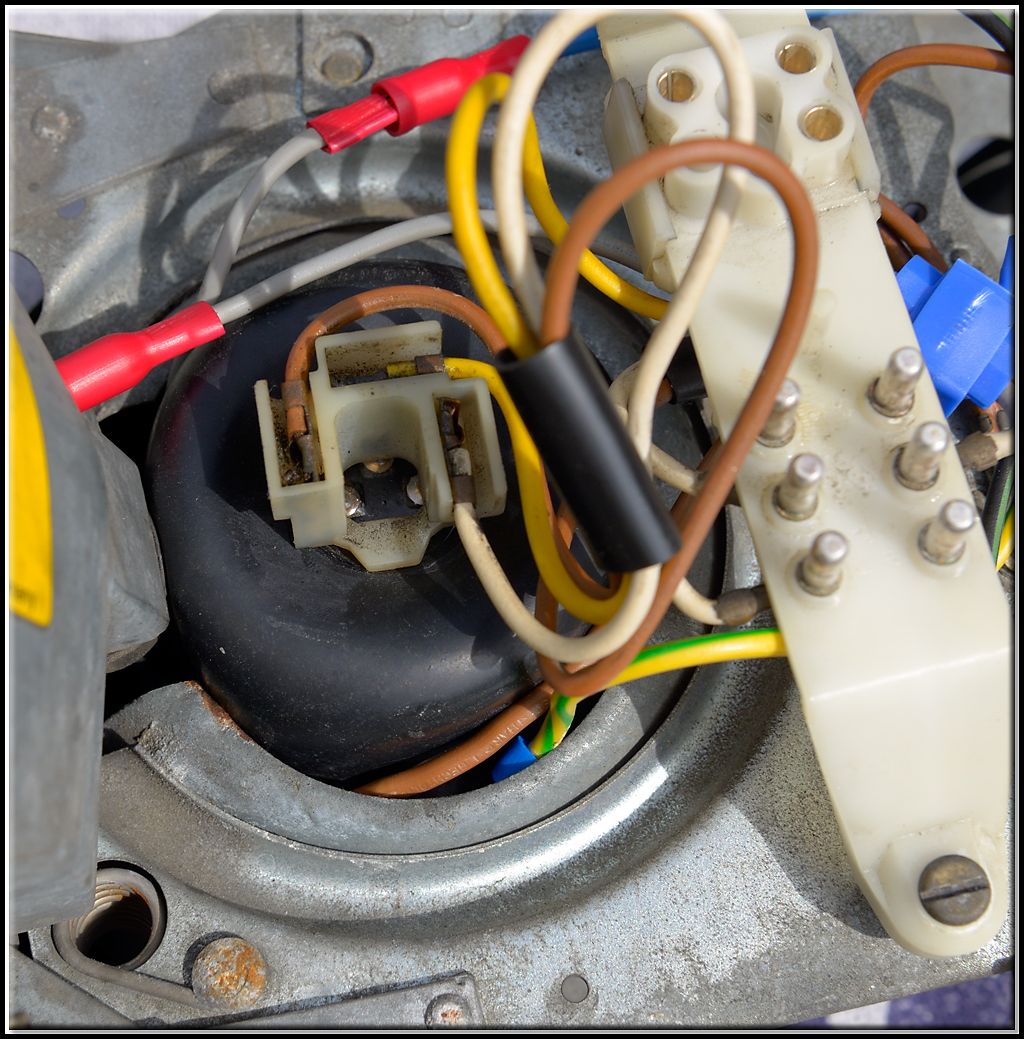
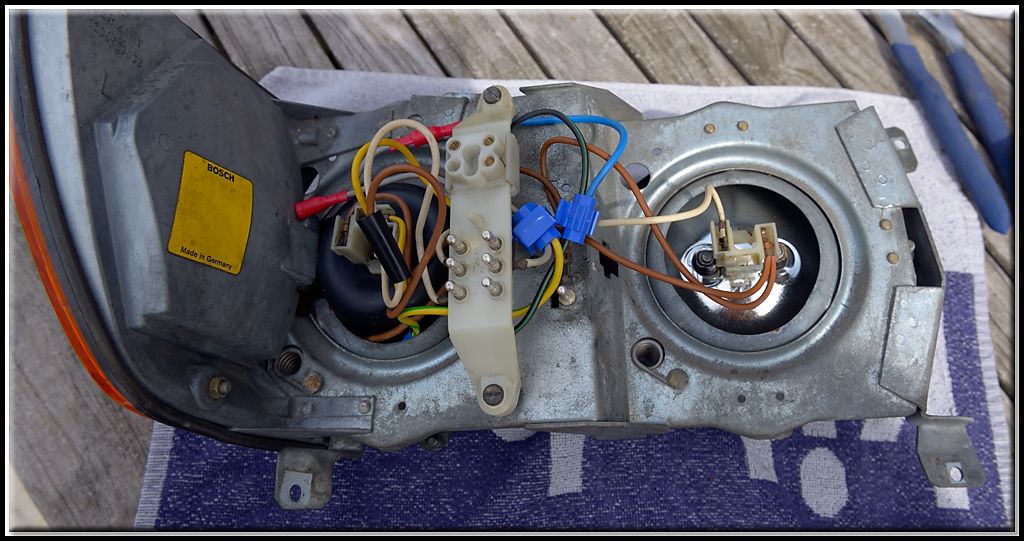
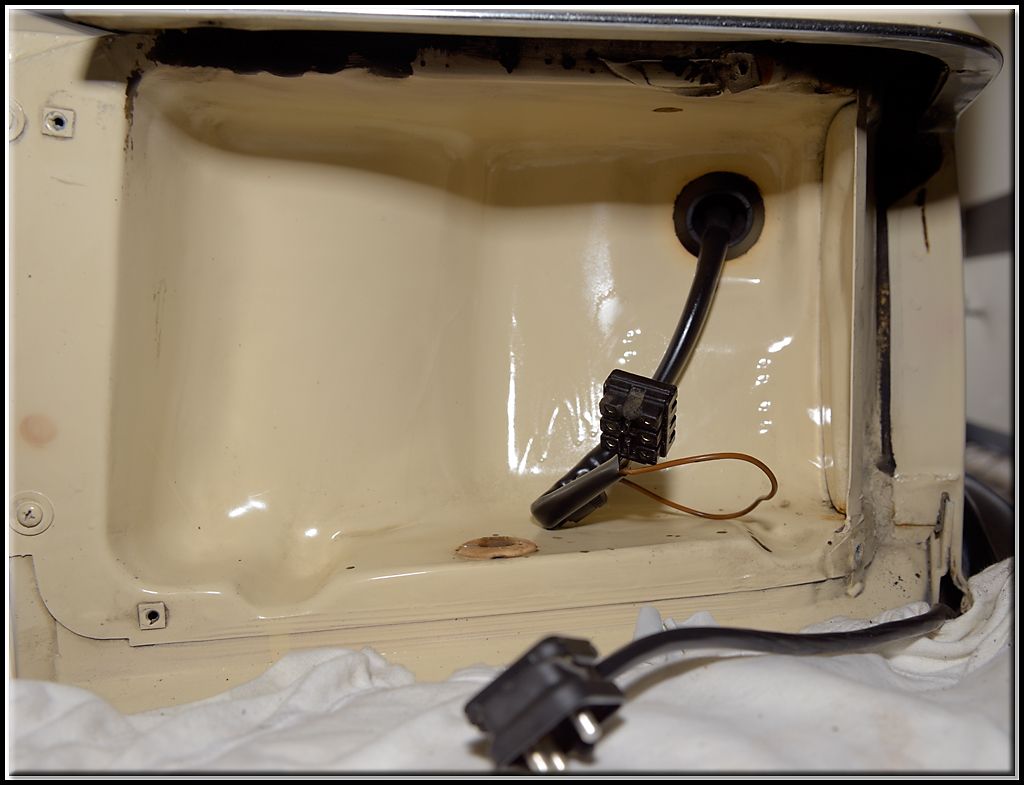
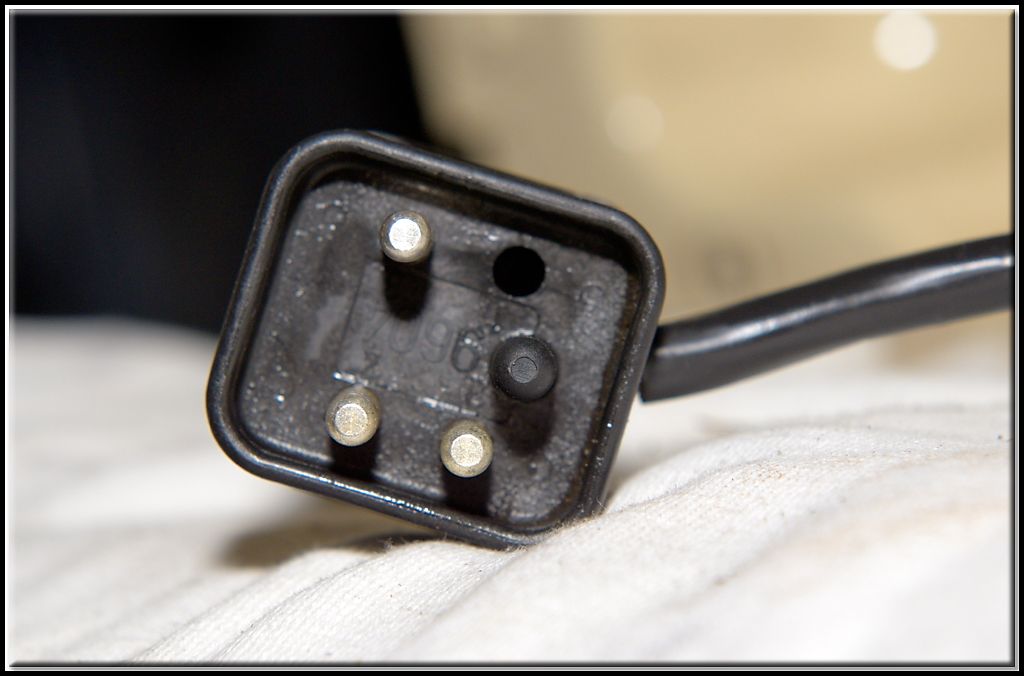
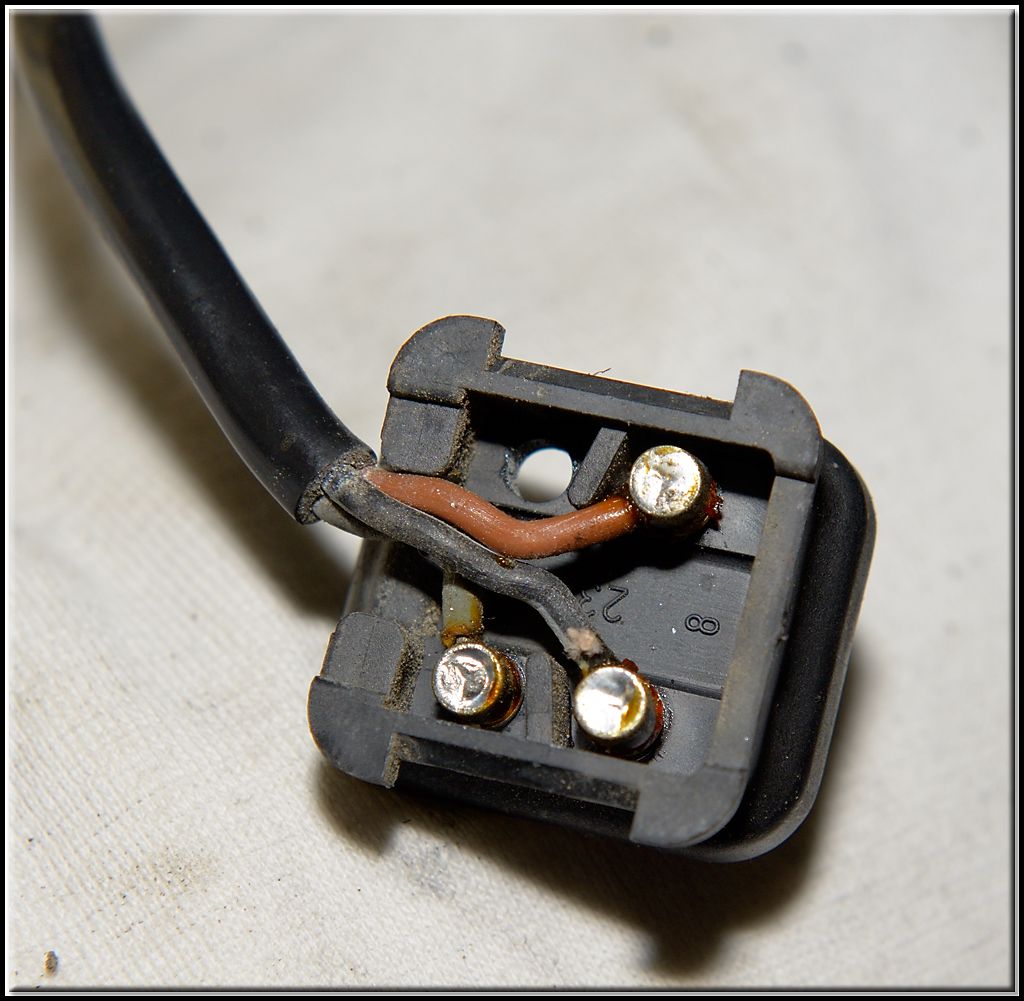
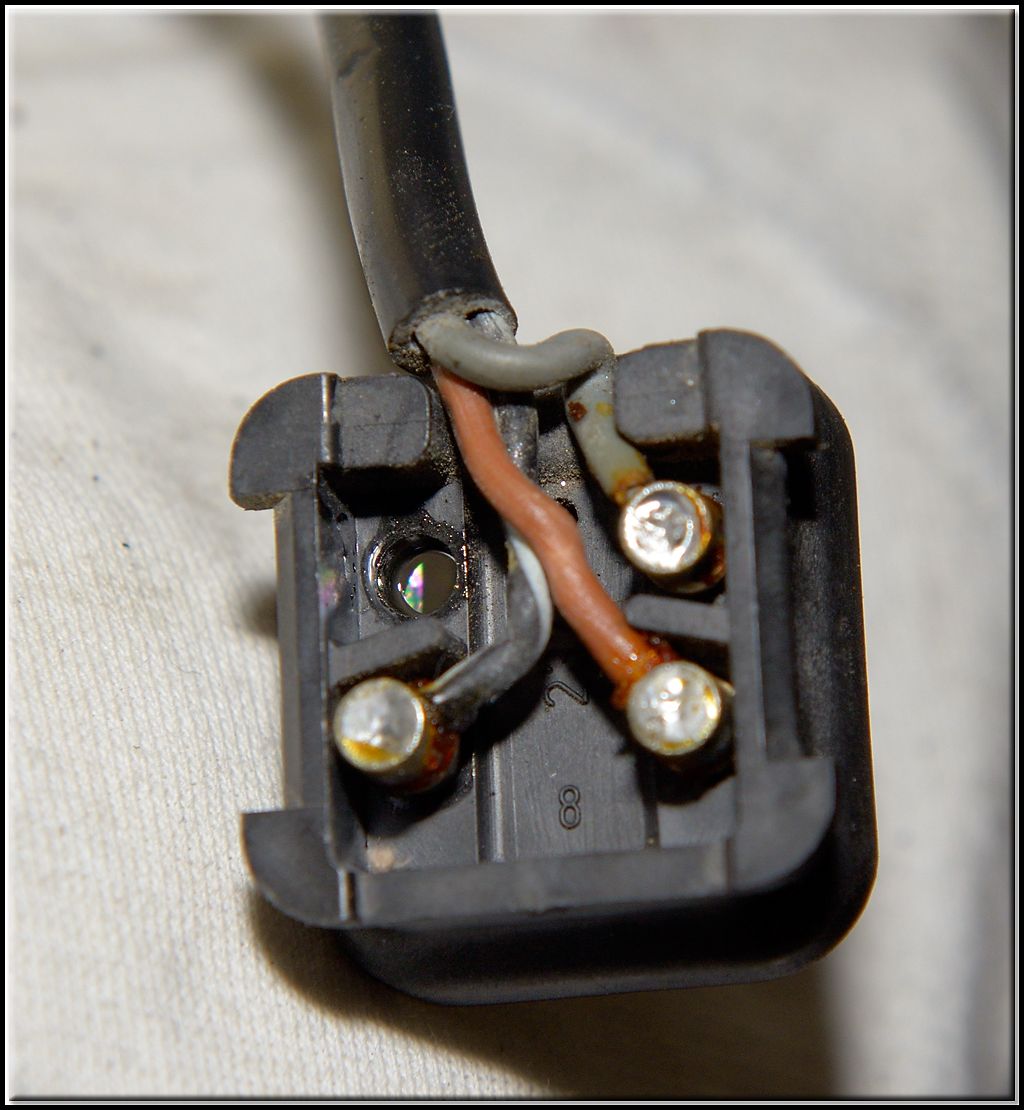
This grey wire is the marker light wire that goes to the orange light under the bumper. There is no further need for this wire, so we put it in the other hole, as...
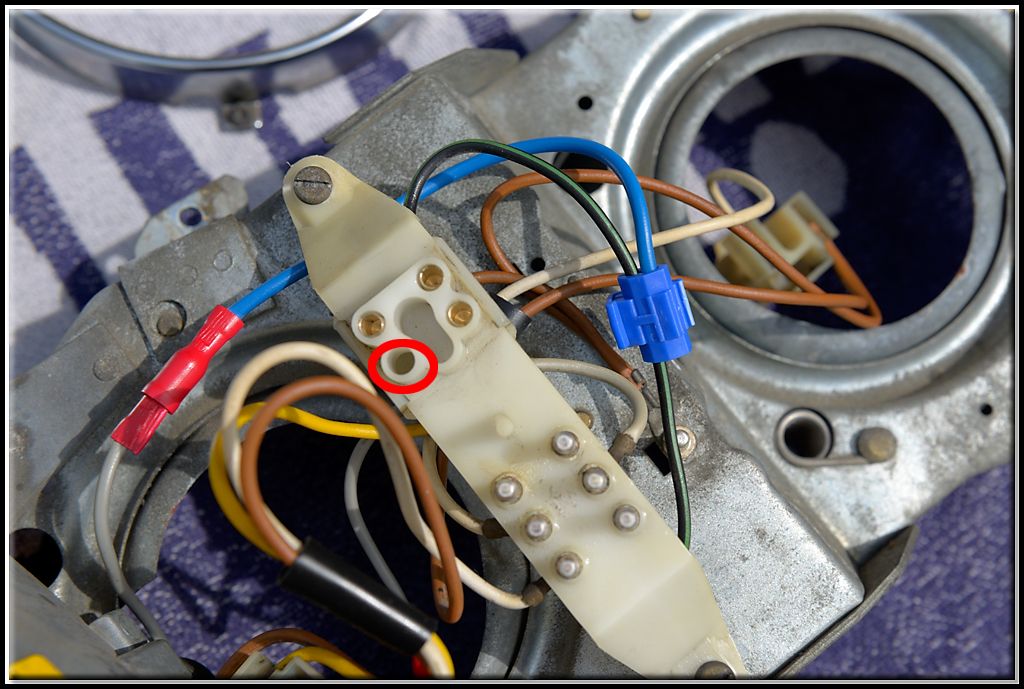
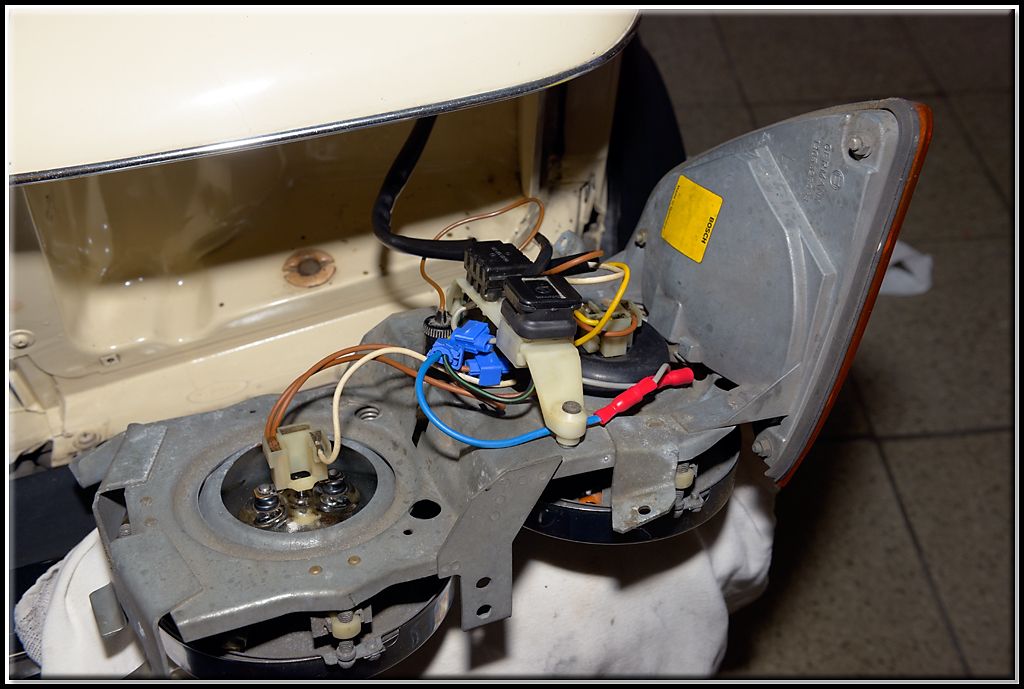
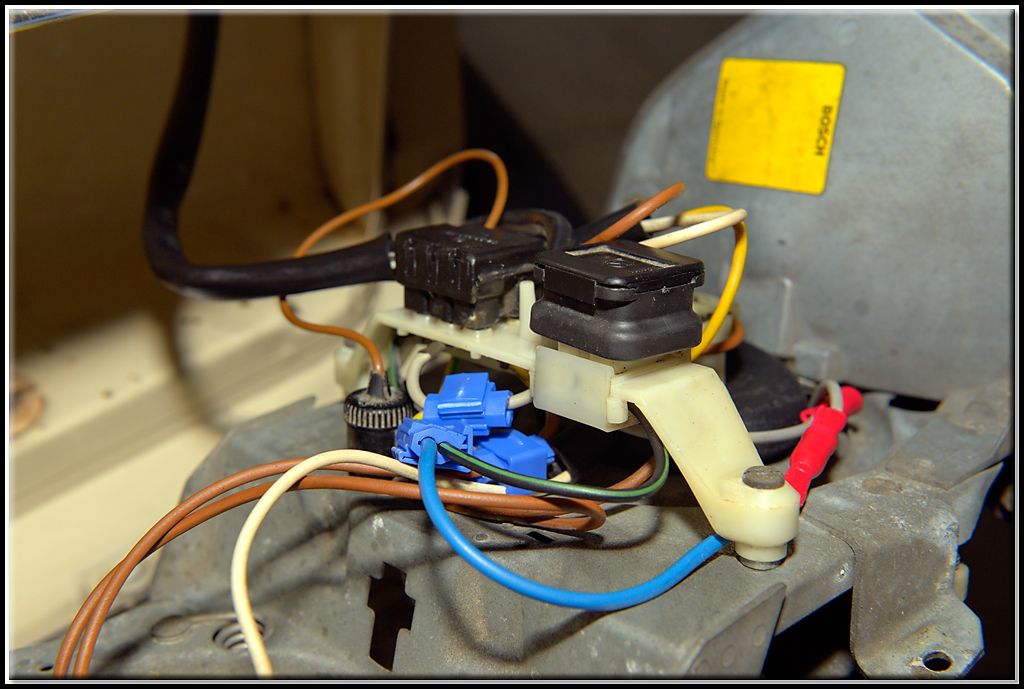
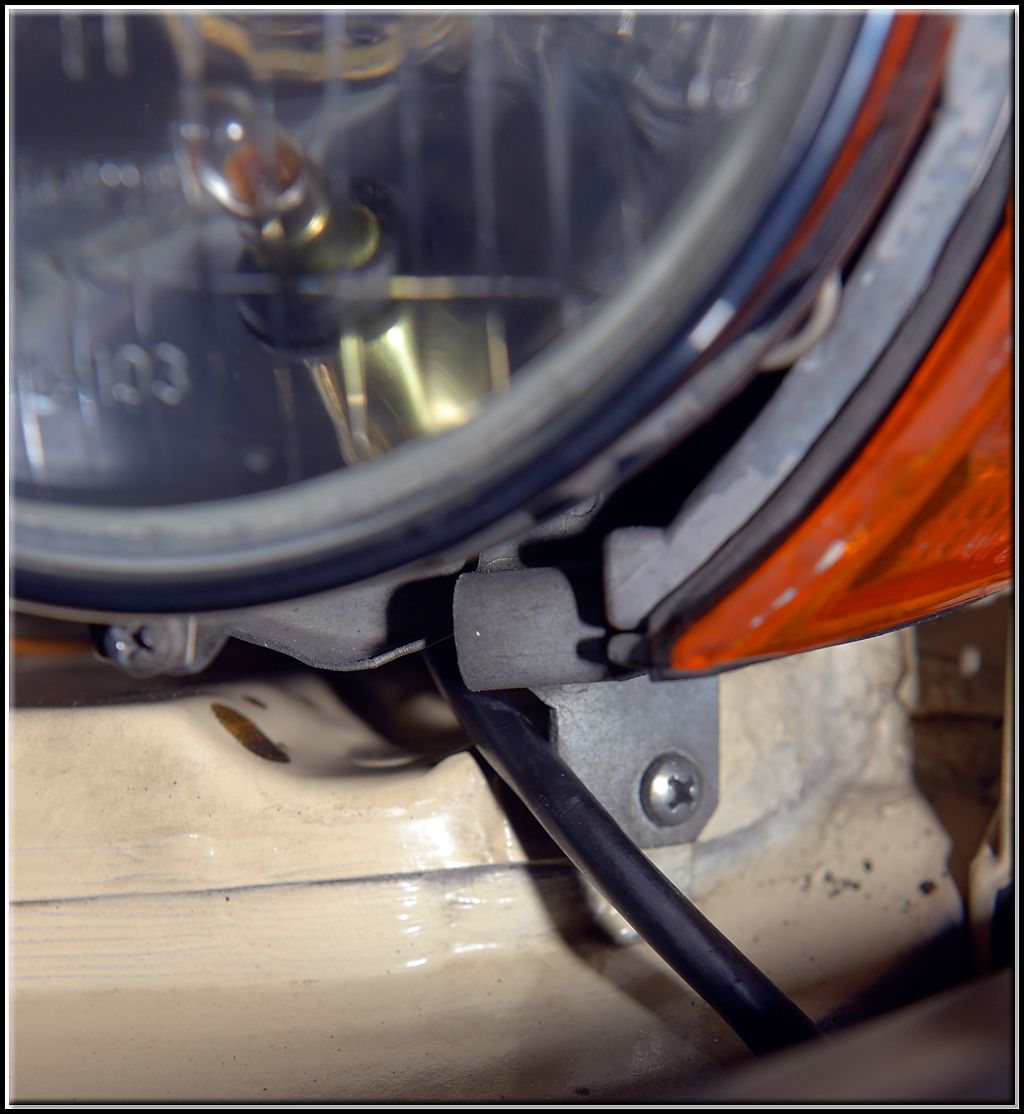
And reattach the head light unit to the car. Be aware of the cable towards the orange light below the bumper: it should go in front of the screw attachment of the head light unit:
Evaluation
Most work was in the cleaning of wires, connectors and car areas.
Basically we have created a situation where the situation of the rewiring of the lights is reversible:
- For the orange light below the bumper: just reposition the pin with the grey wire in the three pin connector, and your are done: the light will function as both marker/park light and turn indicator;
- Disonnecting the newly attached blue wire and re-connect the grey wire will recreate a marker light in the orange section of the head light unit.
Of course, it would be even better to make the connections by soldering, but this was my first attempt and I want to see that this situation is acceptable at the inspection...
Final call will be when I go for the inspection to see if everything is in line with expectation according to Belgian road regulations... I will keep you posted ;-)
[Edit 31 May]: Today at the inspection, some remarks were made, but none about the lights! Even the adjustments of the beams were still OK! Hurray!
